How to Upload Images
and Insert them into Posts
This guide assumes you have an understanding of:
- Which images should be posted
- The correct image format
- The correct file name
- How to Download Images
- How to create a post
Background Information
When you upload images to Classic-Pirates.com, WordPress will automatically generate different size variants providing the original images are large enough to support the size variant.
The size variants are:
- Thumbnail – 480px wide
- Medium – 960px wide
- Large – 1920px wide
- Original – the actual size of the image uploaded
For this reason you should upload images at least 1080px wide (preferably 1920px) but use images 700px to 960px wide in the Post Content which then link to the Full-Size or Large version in the Light Box.
IMPORTANT!
Example: If you uploaded an image 500px wide, WordPress would only be able to generate a variant at the 480px wide Thumbnail size.
This is why you should use large images when available, however be mindful not to select excessively large images, like those greater than 2560px.
How to Upload Images
First ensure you’ve downloaded the images to a convenient location on your computer/device.
After you’ve created your blog post and entered textual content, position the caret where you wish to insert the image and click the Add Media button.
The caret is the flashing vertical bar which indicates the proposed insertion in a text.
This will activate the Media Library.
To upload an image:
- Drag the file from the desktop folder onto the Media Library.
- Or click the Upload files tab then click the Select Files button and locate the files you wish to upload.
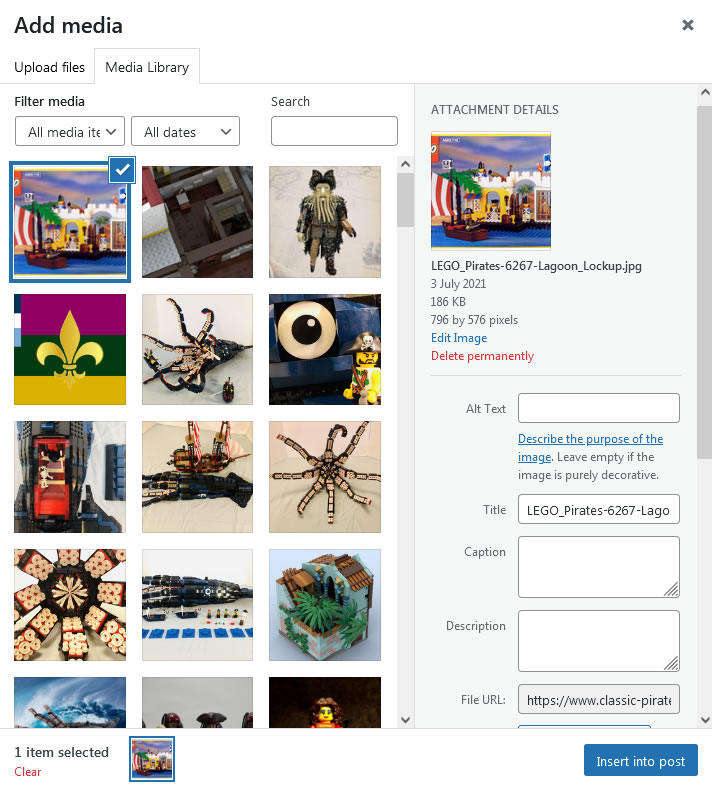
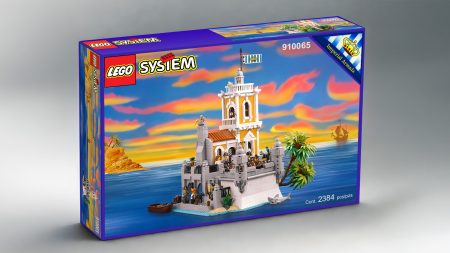
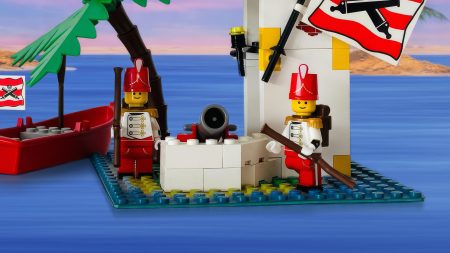
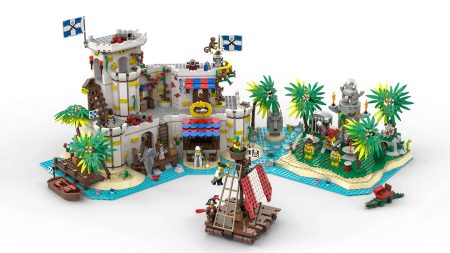
In this example a photo of the box art of the set 6267 Lagoon Lockup is being uploaded.
Once your image has successfully uploaded, a smaller version of that image will appear as the first thumbnail in the left column.
The other thumbnails are images which have been previously uploaded to the Media Library.
The white check mark with the blue background indicates this is the image currently selected.
IMPORTANT!
You cannot drag images from external websites into the Media Library. All images must be downloaded to your computer/device first.
Selecting Multiple Images
Be aware that:
- You can insert an image which has been previously uploaded.
- You can insert more than one image at a time. To do so, hold down the CTRL button while clicking on the other image(s) you wish to insert.
Entering the Attachment Details
In the right column you will find the Attachment Details – this is where you set an image’s ALT and Title properties.
- ALT Tags
- Provide descriptive information to help Search Engines and Screen Readers to understand what each image contains.
- Act as the image Description when the Light Box is active.
- Title Tags
- Are used for the Light Box image description
- Appear when the mouse cursor is moved over an image.
By default, WordPress will make the Image Title will inherit the image’s file name.
For example:
LEGOPirates-6267-Lagoon_Lockup.jpg
Becomes…
LEGOPirates-6267-Lagoon_Lockup
However, this could be improved for the benefit of Search Engines and Screen Readers.
Try to describe the the image in a short sentence of 3 to 10 words.
First, remove any unnecessary grammar, insert the correct spacing and add descriptive wording.
For example:
LEGOPirates-6267-Lagoon_Lockup
Could become…
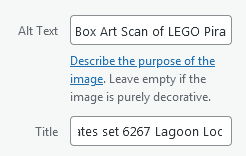
Box Art of LEGO Pirates set 6267 Lagoon Lockup
The Image Title text can then be copied and pasted into the Alt Text.
Note that, you may need to scroll up to see the ALT Text Input Field.
IMPORTANT!
- Do NOT start the ALT Text with words like “Image of” or “Photo of” because Search Engines and Screen Readers have already detected the content is an image.
- Do NOT make the ALT Text the same as the Image Caption – these should be different!
- Do NOT enter “Click here to enlarge image” in the Attachment Details. This is ONLY entered into the Image Details in the Post Content when the Light Box is in use.
Image Captions
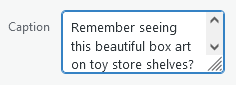
You may also enter a brief caption to compliment your image. As Captions appear in your Blog Post they don’t need to be descriptive but can be used to provide brief (witty) commentary outside the narrative of your blog post.
Attachment Display Settings
These are settings which, aside from Link To, you won’t need to change.
Alignment
This only applies to small images. Most of the images you upload will occupy the entire width of the Blog Post and won’t require aligning.
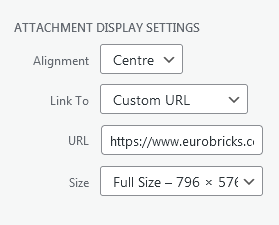
Link to
Most commonly you will need to link a larger version of the image in the Light Box.
While in certain instances, you may need to link the image to an external webpage, like a LEGO Ideas Project or topic in the LEGO Pirates forum.
This requires changing the Drop Down to Custom URL and entering the URL the user will be taken to after clicking the image.
Size
This is the dimensions of the image (width x height).
The images used in your post should be around 960 pixels wide so if you’ve uploaded a large image, select Medium to reduce download times.
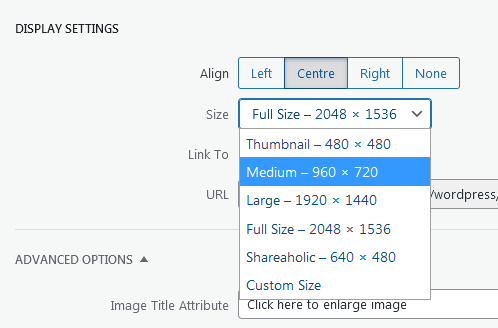
Smaller images are only permissible if the Full Size version is 960 pixels wide or Less.
But always use images around 960 pixels wide if available.
Medium is smaller than 960px
Because Portrait Images are taller than they are wider, sometimes their Medium variant width will be significantly less than 960px.
If the Full Size width is greater than 960px then you will need to set a Custom Size.
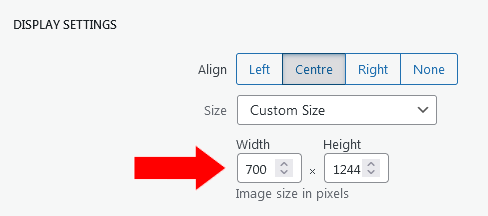
- Select Custom Size from the the Size Dropdown
- Enter 700 into the Width Input Field (the height will update automatically).
- Click the blue Update button in the bottom-right
IMPORTANT!
Size Variations are only available for images uploaded to Classic-Pirates.com manually.
If your Blog Post contains:
- Images hosted Externally (on another website) you will need to upload them to Classic-Pirates.com to generate the Size Variants.
- Images imported automatically you will need to download the Full Size Images and re-upload them to Classic-Pirates.com to generate the Size Variants.
Always be mindful of the Image Size and Filenames when downloading and re-uploading images!
Inserting the Image
The final step is to click the blue Insert into Post button.

To the left you will find the thumbnail(s) of the image(s) selected for insertion.
Editing an Image Inserted into a Post
After you’ve inserted an image into a post you may need to edit the image’s settings, particularly if you want to add a Caption.
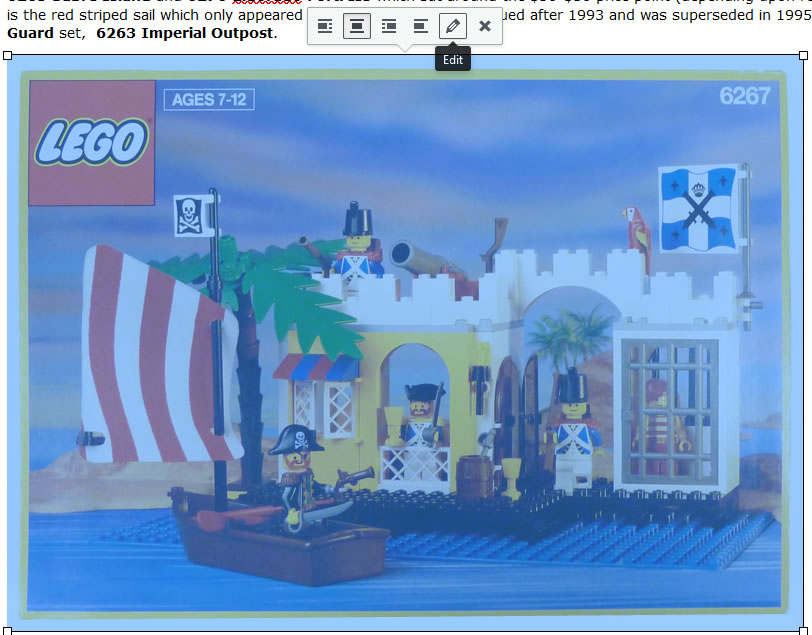
To Edit
- Click on the image you wish to edit and a Toolbar will appear.
- Click the Pencil Icon
This will open the Image details dialogue box.
Image Details Dialogue Box
Here you will be able to edit the Attachment Details and Attachment Display Settings.
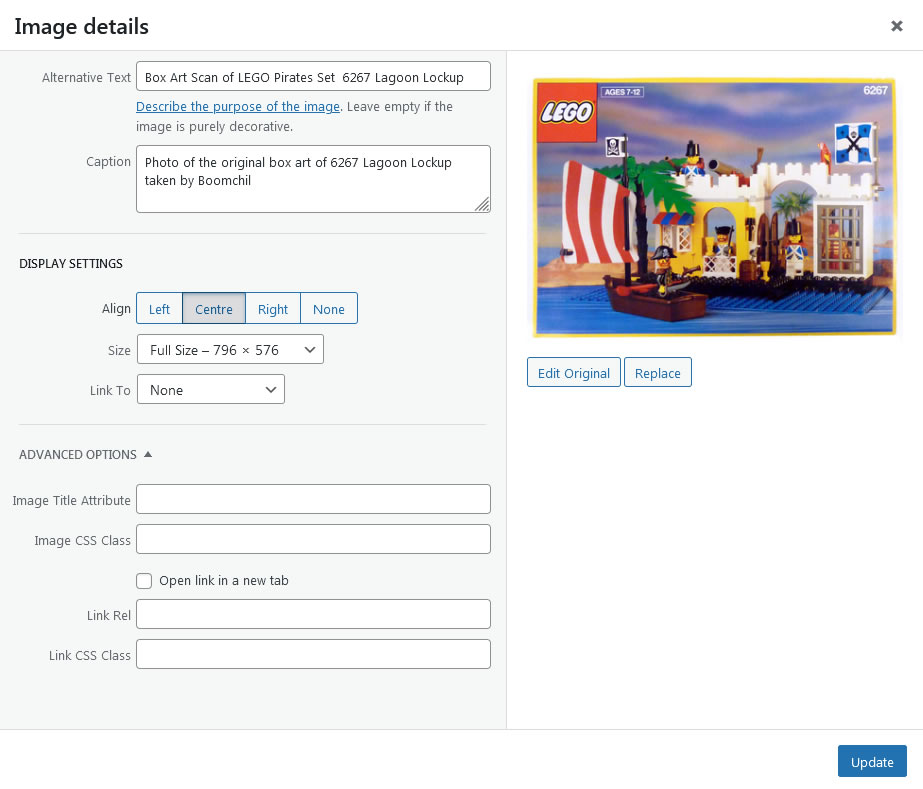
After you make changes, click the Update button and you will be returned to the Post Editor.
Advanced Options
Unless you have an understanding of web design you will not need to change these options.

The one exception is the Open link in a new tab checkbox.
If you are linking to external webpages (I.e. webpages which are outside of Classic-Pirates.com) then select this checkbox.
Light Box
A Light Box is a window overlay which appears over top of webpage content. When the Light Box is active, the background is dimmed black so focus is placed directly on the image being viewed.
It works by using a smaller image (around 700px wide) as a thumbnail in the Post Content which then links to a larger version of the image.
All images wider than 700px should open in the Light Box as it allows them to be viewed at a larger size and free from the distraction of other webpage content.

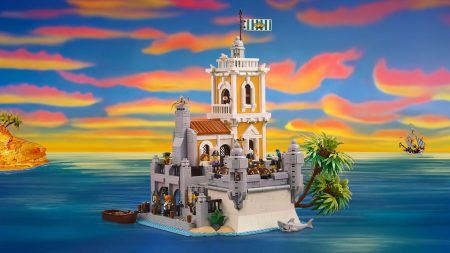
An image displayed in the Light Box
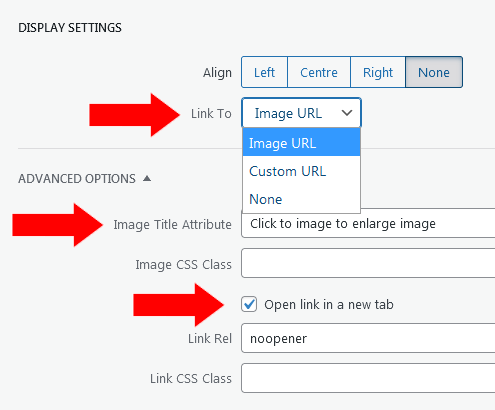
To apply the Light Box:
- Edit the image and locate the Display Settings.
- In the Link To dropdown select “Image URL” or “Media URL” (this varies depending upon the post)
- In the Advanced Options
- Change the Image Title Attribute to:
Click here to enlarge image - Check the Open link in a new tab checkbox.
- Change the Image Title Attribute to:
- And click the blue Update button.
IMPORTANT!
You will receive an error if:
- The Open link in a new tab checkbox is not checked for images hosted externally (on another website).
- The Image Title attribute is not identical to
Click here to enlarge image
Example

Click this image to activate the Light Box
Replacing an Image
Sometimes you may need to replace an image but want to keep the same settings.
For example: a higher quality version of the image becomes available.
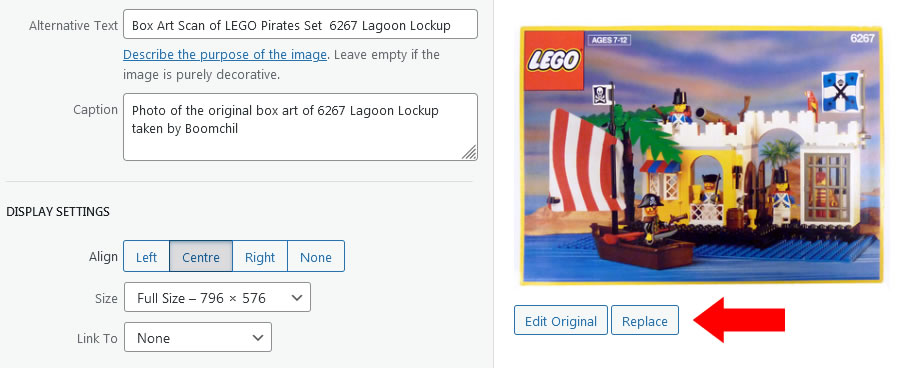
The quickest way to achieve this is to click the Replace button which will launch the Media Library.
IMPORTANT!
The Replace button may not always be available so you will need to remove the image from your Blog Post and upload the replacement image as you would a new image.
Visual Feedback
In addition to the written feedback above the Post Editor, images requiring attention will be visually represented by a coloured border.
![]() Red – Image is not hosted on Classic-Pirates.com
Red – Image is not hosted on Classic-Pirates.com
![]() Cyan – the image ALT Text has not been set.
Cyan – the image ALT Text has not been set.
![]() Magenta – the External Link on the image does not Open in a new tab.
Magenta – the External Link on the image does not Open in a new tab.